


Managing databases can sometimes feel like managing a digital city — full of data highways, buildings of information, and countless residents (users) with different access rights. If you’re building or maintaining that city, MySQL is likely one of your core tools. And to keep it safe and organized, you must understand how to create users properly.
This guide will walk you through the MySQL CREATE USER command — not in a dry, technical way, but in a clear, conversational style that anyone can understand. Whether you’re new to databases or just want to strengthen your MySQL knowledge, this is your complete go-to resource.
What Is MySQL and Why Does User Creation Matter?
Let’s start simple.
MySQL is an open-source relational database management system (RDBMS). In plain terms, it’s a software that helps you store, organize, and manage data — like customer details, product lists, or even login credentials for your app.
Now, imagine MySQL as a bank. Each user (like a teller, manager, or security guard) needs specific access to certain rooms or safes. You wouldn’t want the janitor accessing the vault, right? That’s exactly where the CREATE USER command comes in — it gives you the power to create and control who can do what in your database.
Understanding the CREATE USER Command
The CREATE USER statement in MySQL is used to add new accounts that can log in and interact with the server. It’s part of MySQL’s authentication system that keeps your database secure and organized.
Think of it as handing someone a new key to your system — but one that only opens certain doors.
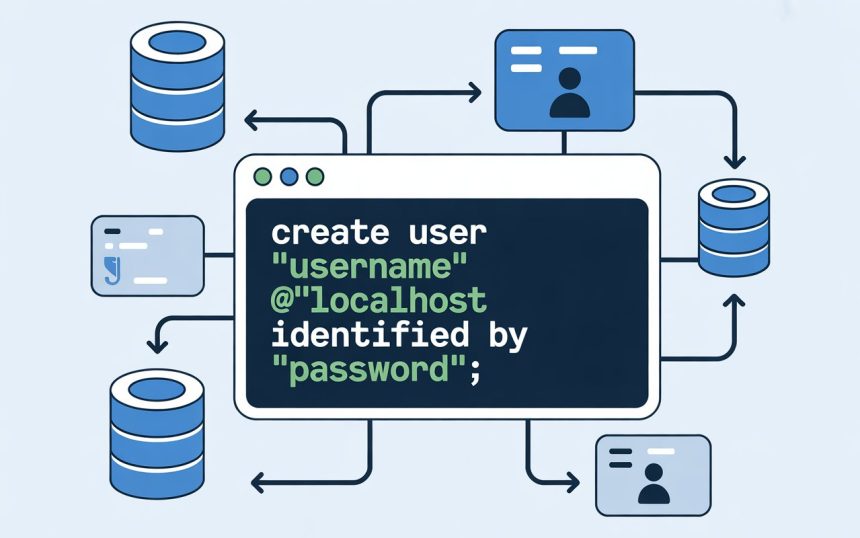
The basic syntax looks like this:
Here’s what each part means:
-
‘username’: The name of the new MySQL user.
-
‘host’: Where the user can connect from (like
localhostfor local access). -
‘password’: The secret key that secures their login.
So, if you wanted to create a user named alex who can log in from the same computer, you’d type:
Breaking Down the Host Parameter
You might wonder, what’s that @’localhost’ part?
That’s the host, and it’s a critical piece of the command. It defines where the user is allowed to connect from.
Here are a few examples:
→ The user can connect only from the same computer running MySQL.
→ The user can connect from any host (use this carefully — it’s less secure).
→ The user can connect from any IP address in that specific range.
Let’s see an example:
This means Emma can connect from any device in the 192.168.1 network.
It’s a bit like saying someone can only enter your building through specific doors — the host defines those entry points.
Creating Users with and Without Passwords
When creating users, it’s always best to include a password. However, you can technically create one without a password:
This creates a user named guest with no password. It might sound convenient, but it’s not secure. Think of it like leaving your front door unlocked — anyone could walk in.
If you want to add a password later, you can use the ALTER USER command:
Granting Privileges to a New User
When you create a new user, they start with no privileges — they can log in but can’t actually see or change any data.
To give them specific permissions, you use the GRANT statement.
For example:
This command allows alex to do anything inside the mydatabase database — read, write, delete, or modify data.
After granting privileges, always run:
This ensures the system reloads and applies your new changes immediately.
Types of Privileges You Can Grant
MySQL privileges control what users can and can’t do. Here are a few examples:
| Privilege | Meaning |
|---|---|
SELECT |
Allows reading data. |
INSERT |
Lets the user add new records. |
UPDATE |
Enables editing existing data. |
DELETE |
Allows removing records. |
CREATE |
Lets the user create new tables or databases. |
DROP |
Allows deleting tables or databases. |
ALL PRIVILEGES |
Grants full control over a database. |
By carefully assigning privileges, you ensure that users only get access to what they truly need — no more, no less.
Creating Users with Roles
In larger projects, managing multiple users can get complicated. To simplify this, MySQL introduced roles — predefined sets of privileges you can assign to users.
Here’s how to create and use them:
Changing and Resetting User Passwords
Need to change a password? MySQL makes it simple:
Removing or Deleting a User
When a user no longer needs access, you can safely remove them using the DROP USER command.
It’s similar to deactivating an employee’s access badge after they leave the company — essential for keeping your digital doors locked.
Viewing Existing Users in MySQL
Want to see a list of all registered users? Simply run:
This displays every username and where they can connect from. It’s a quick way to audit your system and spot unwanted or unknown accounts.
Common Errors and How to Fix Them
Even seasoned developers make mistakes. Here are some frequent ones you might face:
Error 1: “Access denied for user ‘root’@‘localhost’”
You might not have permission to create users. Ensure you’re logged in as an account with CREATE USER or GRANT OPTION privileges.
Error 2: “User already exists”
You’re trying to create a user that’s already in the system. To fix it, use:
Error 3: “Host not allowed to connect”
This occurs when your host value is incorrect. Double-check the IP or host configuration in your command.
Best Practices for Creating MySQL Users
Security and structure are everything when managing databases. Keep these best practices in mind:
1. Always Use Strong Passwords
Avoid simple passwords like “admin123.” Use complex ones with a mix of symbols, letters, and numbers.
2. Restrict Host Access
Instead of allowing % (all hosts), specify particular IP addresses for tighter control.
3. Give Minimum Necessary Privileges
Follow the principle of least privilege — users should have only the access they need to perform their jobs.
4. Regularly Review Users
Remove unused accounts and regularly audit user access to maintain a secure environment.
5. Avoid Using the Root Account
Create a separate admin account for daily operations instead of relying on the root user.
How CREATE USER Differs from GRANT
Many beginners confuse these two commands. Here’s the key difference:
-
CREATE USER → Adds a new account to MySQL.
-
GRANT → Assigns privileges to that account.
In older versions of MySQL, could create users automatically, but now it’s best practice to explicitly use CREATE USER first, then GRANT.
Real-World Example: Managing Access in a Small Business
Let’s use a simple analogy.
Imagine you’re running a small coffee shop, and your MySQL database is the main office. You’ve got different employees:
-
The manager needs full control.
-
The barista only needs access to the menu database.
-
The accountant can view but not edit sales records.
Here’s how you’d set that up in MySQL:
Simple, logical, and safe — everyone gets exactly what they need.
Securing Your MySQL Database
Creating users is just one part of the puzzle. Securing them is another.
Here are a few additional security tips:
-
Use SSL connections to encrypt data between the server and users.
-
Enable two-factor authentication if your platform supports it.
-
Log user activity to detect unusual behavior.
-
Change passwords regularly to reduce risks.
Frequently Asked Questions (FAQs)
1. Can I create a user without giving them any privileges?
Yes, you can. Users can exist without any privileges. You’ll just need to assign permissions later using the GRANT command.
2. How do I change a user’s password in MySQL?
Use the command to update a user’s password securely.
3. What’s the difference between ‘localhost’ and ‘%’ in CREATE USER?
limits access to the same machine, while allows connections from any host. The latter is less secure.
4. How can I check what privileges a user has?
This will show all privileges assigned to that account.
5. Can I rename a MySQL user?
Yes. You can rename a user using:
Conclusion
The MySQL CREATE USER command is more than just a technical instruction — it’s your first step toward organized, secure, and efficient database management.
Think of it as giving out personalized keys to your digital kingdom. Each user gets a key that opens only their door, ensuring safety and order across the system. When used properly, this simple command can make a world of difference in maintaining control over your data and ensuring that your database stays safe, efficient, and accessible only to the right people.